
Social Login: Create Social Apps
Connecting Facebook
To enable social login for your store to Facebook, you need to create a facebook app. to create app you need to log into your Facebook account. Go to developers.facebook.com while logged in and click “My Apps > Add a New App” to create an app.
Enter your app name + an email address for your store:

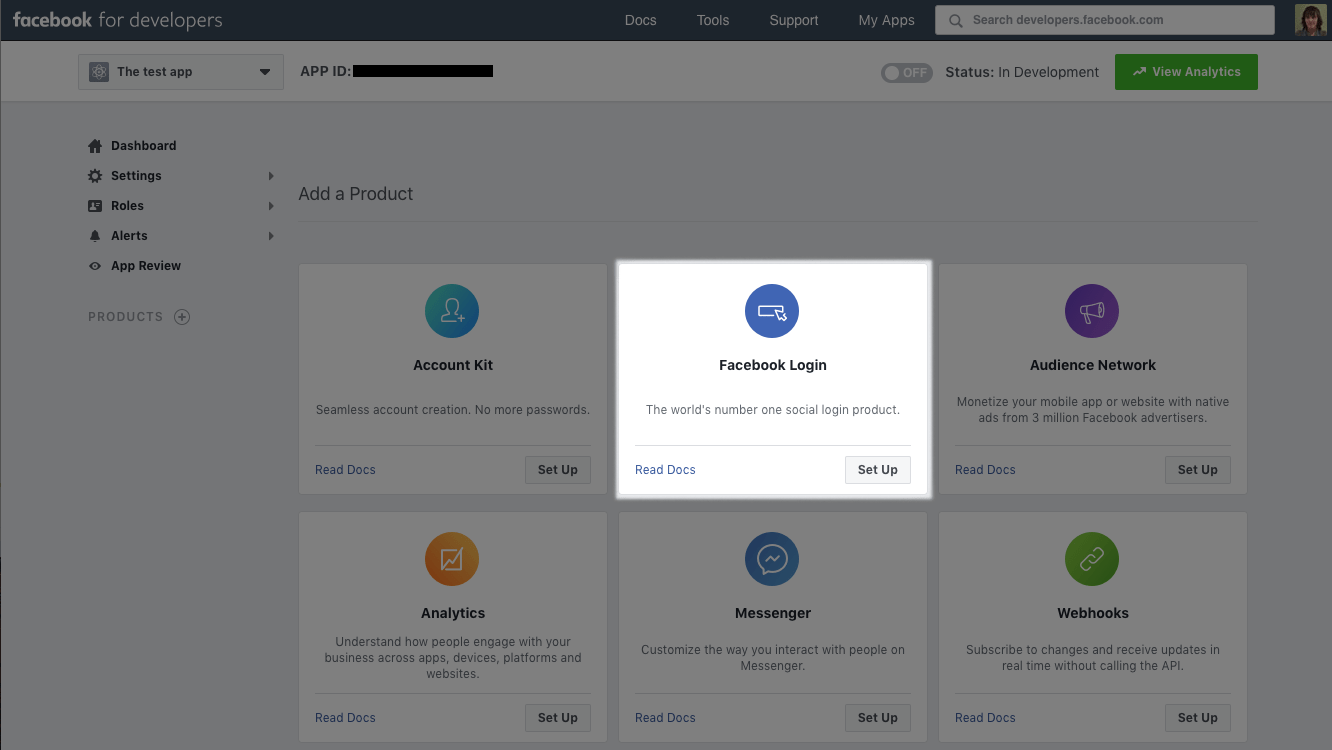
Choose “Facebook Login” for the app type, and click “Set Up”:
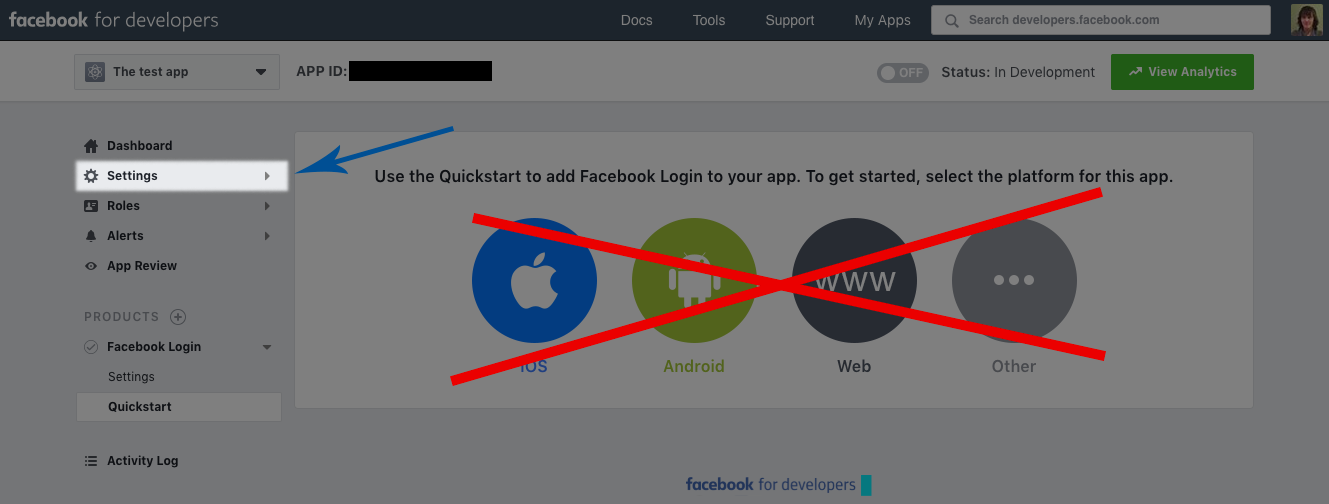
Do not use the “Quickstart” you’ll be taken into; instead, click “Settings > Basic” for the app:
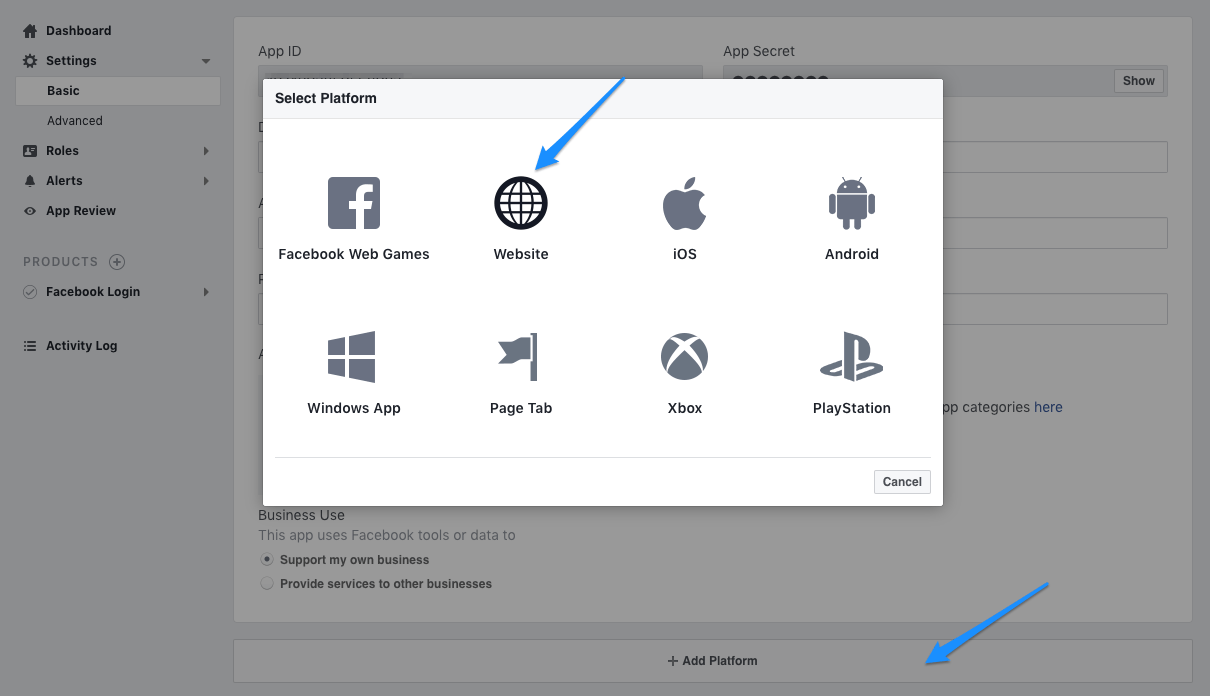
Click “Add platform”, and then select “Website” as your platform.
Now enter the rest of the basic details for your store. You can
- set the display name (the name of your store; will be shown to customers when they approve app access to log in),
- set a namespace (an optional identifier – helpful for subdomains but not needed),
- set “category” to whatever you’d like,
- and optionally add site URLs and a logo.

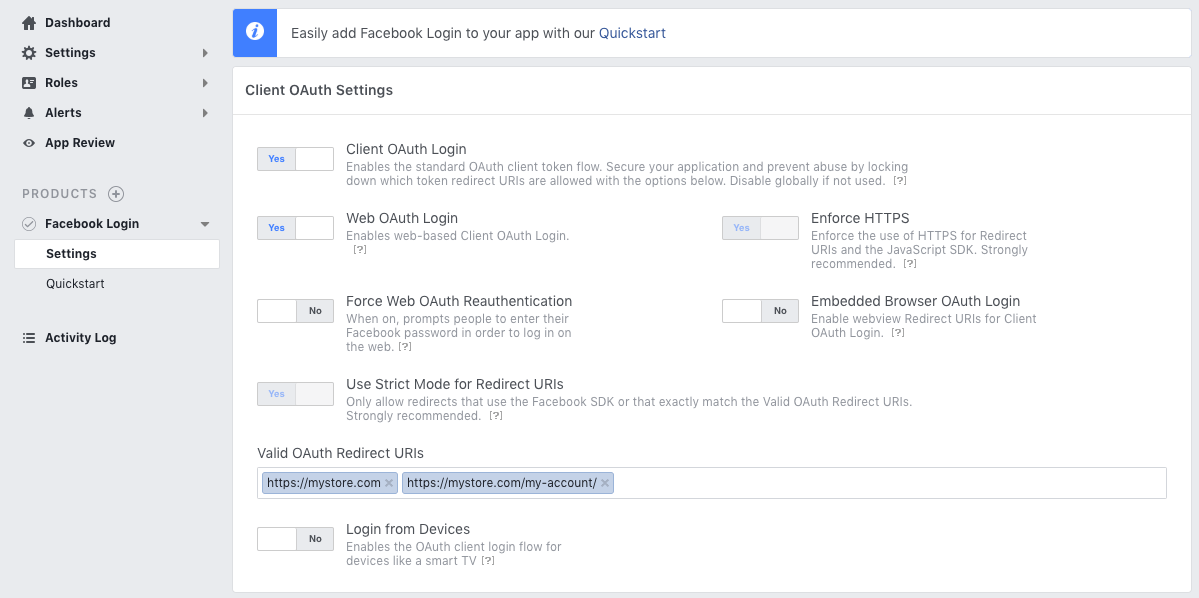
Click on “Facebook login > Settings” next. Add the following URLs to the “Valid OAuth Redirect URIs” field on this page (note: your endpoints may be different):
- homepage URL (https://yourstorename.orderpal.net)
- checkout URL (https://yourstorename.orderpal.net/checkout)
- order received URL (https://yourstorename.orderpal.net/order-received)
- account page URL (https://yourstorename.orderpal.net/my-account)
- API request endpoint (https://yourstorename.orderpal.net/?wc-api=auth&done=facebook)
Last step! Go to “App Review” and change the app status to live / public (or do so from your top bar):
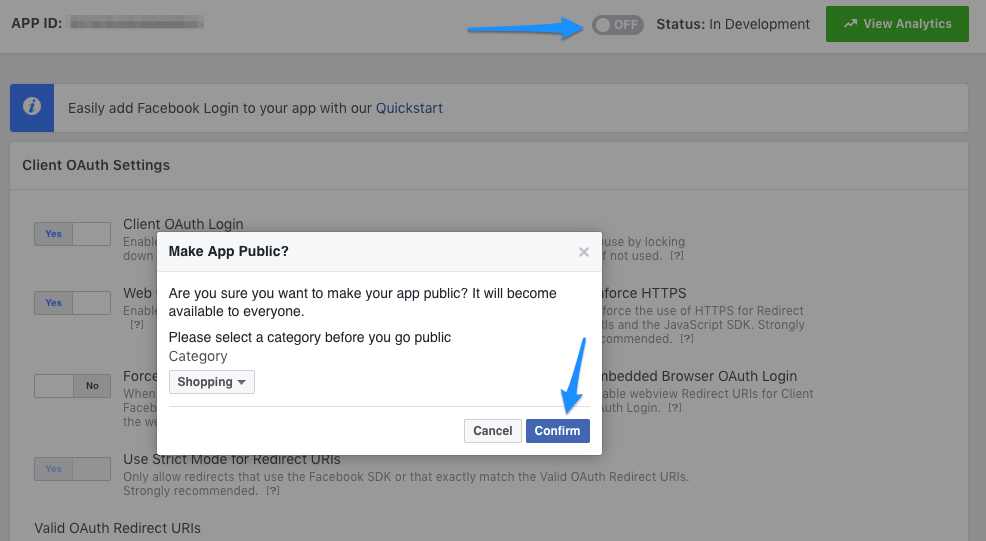
The setup is done! Now you can go back to “Settings” or “Dashboard” and grab your App ID and Secret. Enter them under Social Login->Facebook.
Connecting Twitter
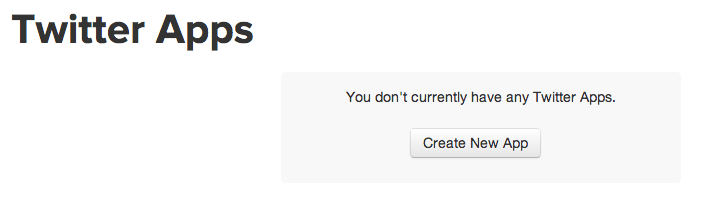
To connect your store Social Login to Twitter, you must create a Twitter app. Log into Twitter, then go to apps.twitter.com. Click “Create App”:
Enter the name of your store and a description for your app. Use your site URL for the website URL.
The callback URL for Twitter is a bit of a weird one. There is an example listed under Social Login > Twitter. It will probably look something like this:
https://yourstorename.orderpal.net/?wc-api=auth&done=twitter
However, we’ve found that Twitter can cut this URL off before &done, so we recommend first just re-entering your store URL for the callback. We’ve found this works in 99.5% of cases with just the home URL as the callback, but if you use the regular callback and it gets cut off, that’s okay too, as https://yourstorename.orderpal.net/?wc-api=auth also works in our tests.
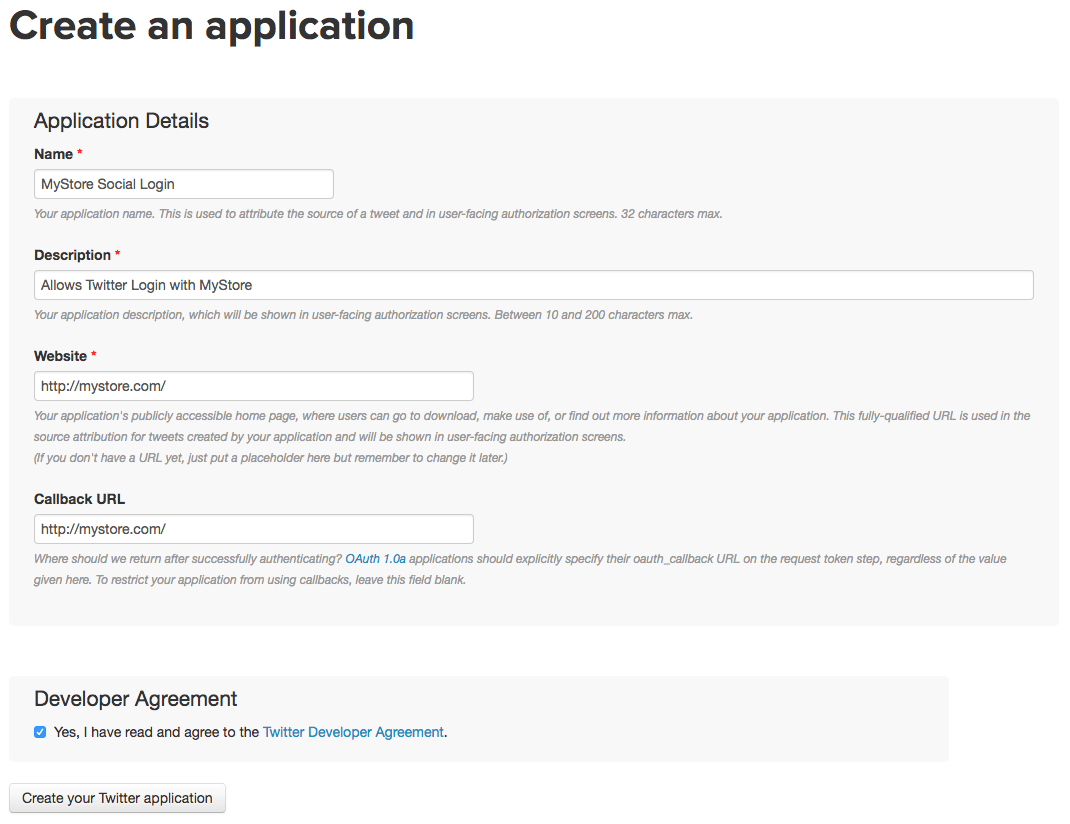
Agree to the developer agreement, and click “Create your Twitter Application”. Once you’ve confirmed your settings and created your app, you’ll be able to manage the app.
From the main app page, navigate to your “Settings” page and ensure the option to “Allow this application to be used with sign in with Twitter” is enabled, then save.
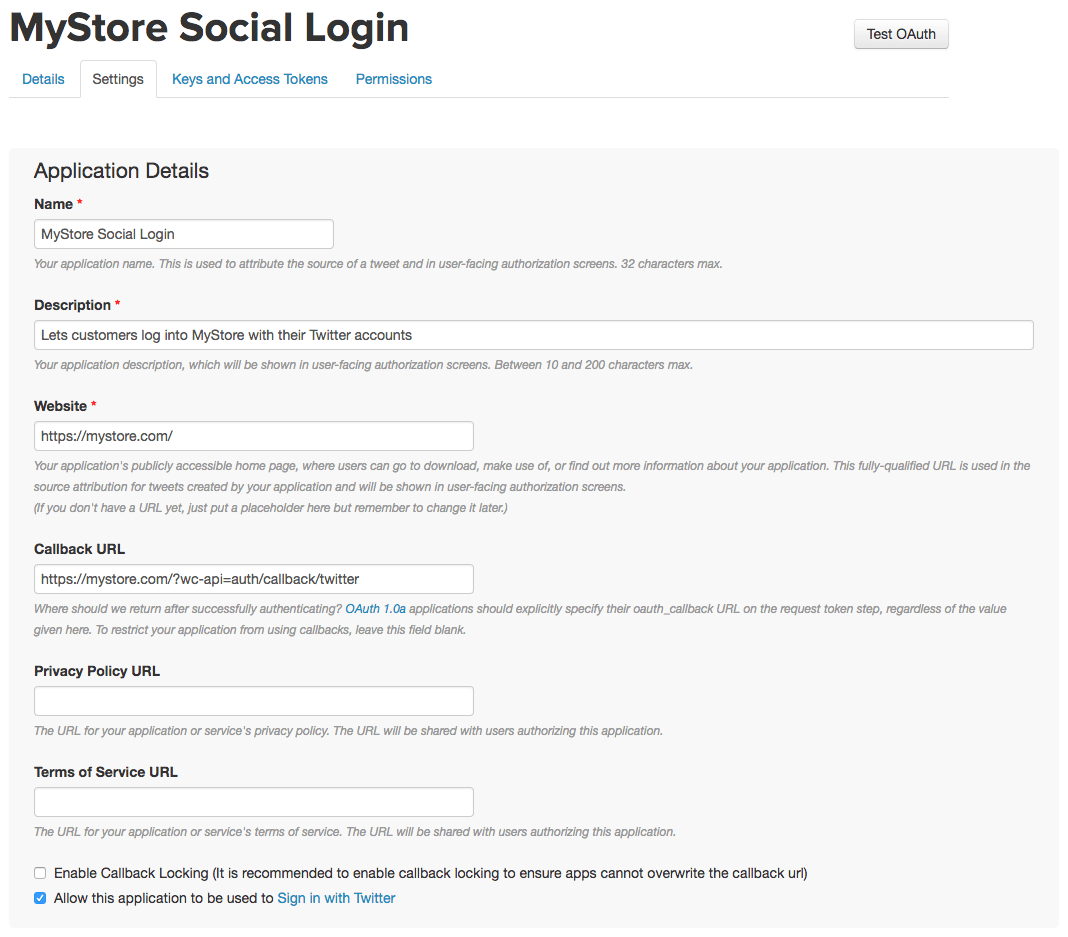
You can also change the app icon to your store logo if desired, or adjust other app settings that customers will see.
Now our setup is done. All we have to do is grab the API Key and API Secret from the “Keys and Access Tokens” page:
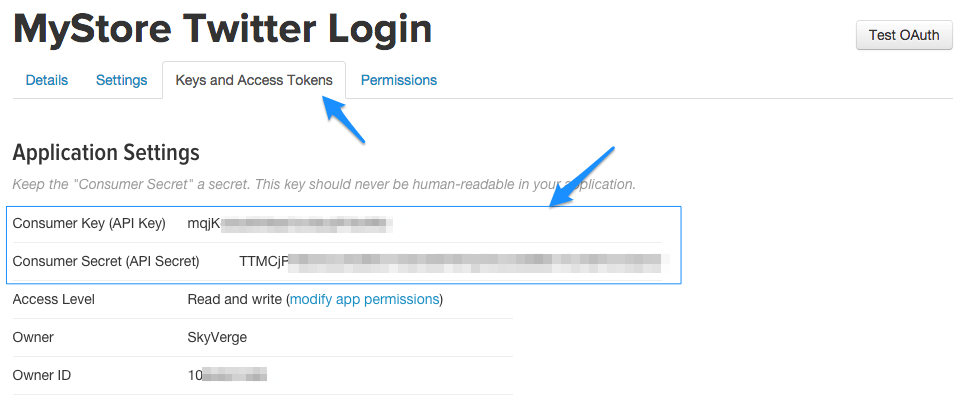
Now you can copy these credentials and save them under Social Login > Twitter.
Connecting Google
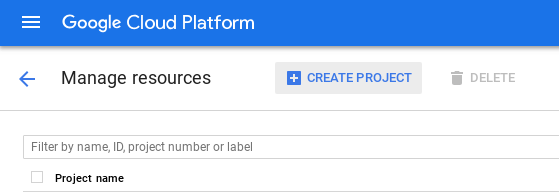
To connect your store to Google, log into your Google account. While logged in, navigate to https://console.cloud.google.com/cloud-resource-manager. Click “Create Project”:
Enter your project’s name (this is shown to customers to approve the login) and click “Create”:
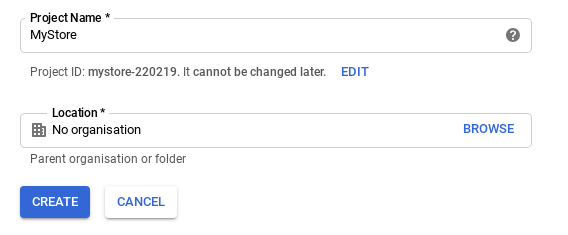
Wait a moment for Google to create your project, it may take a bit of time for the page to refresh.
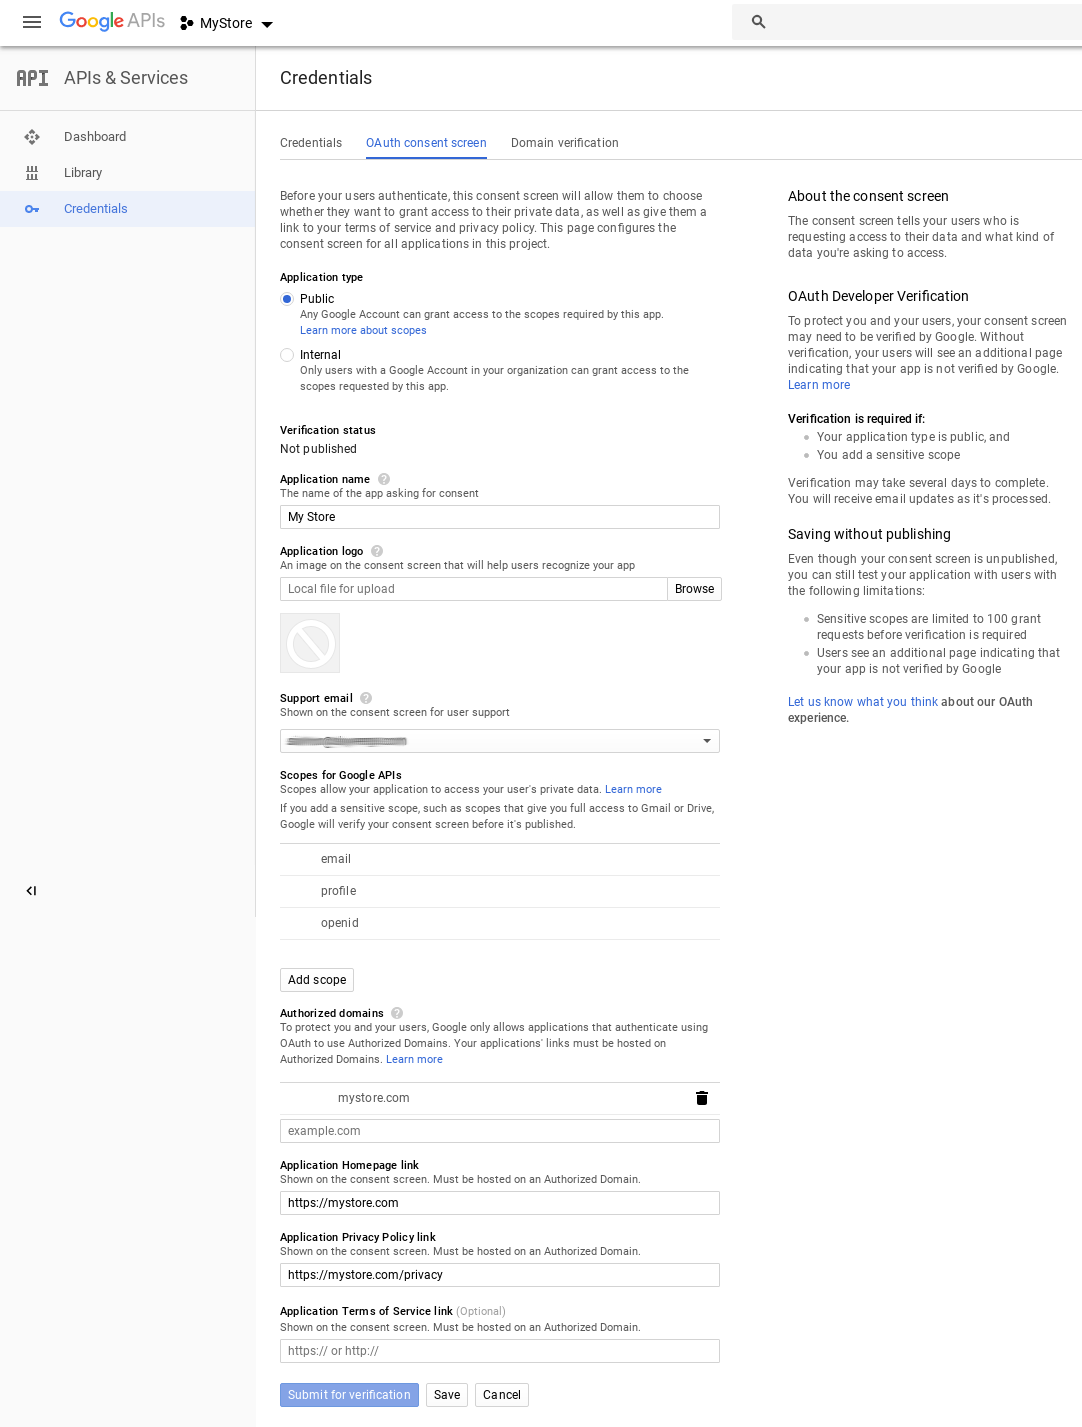
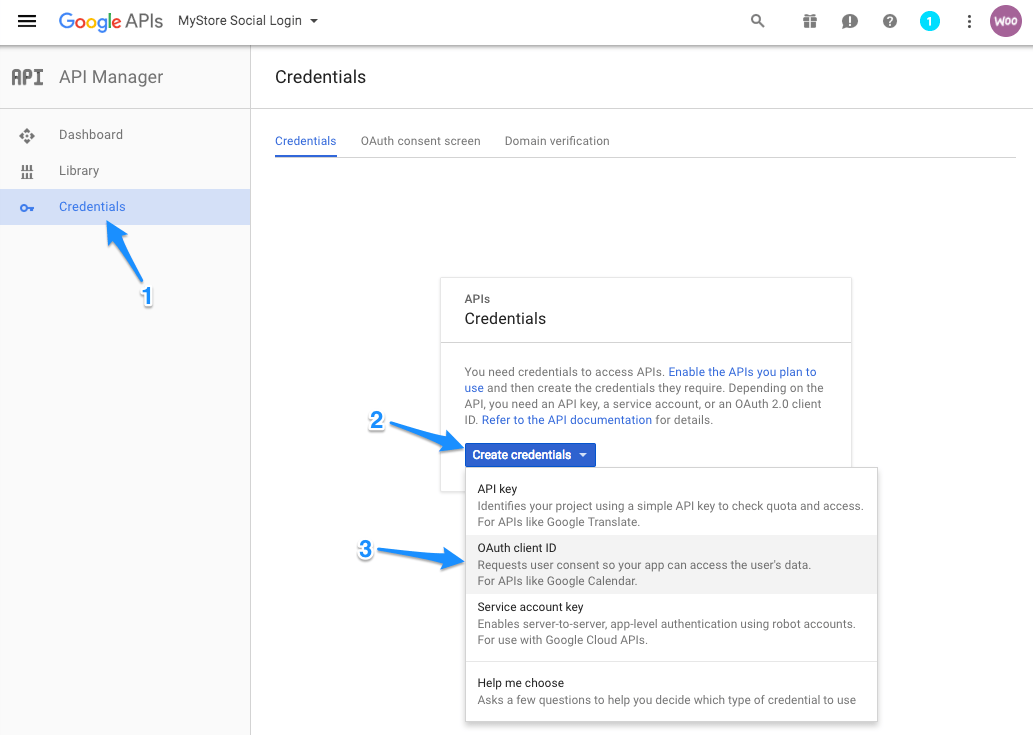
Once you’ve created a project, click on “Credentials” on the left-hand side, then select “OAuth Consent Screen” at the top. You’ll need to enter your site / company information here.
Now go to the “Credentials” tab and click “Create credentials”. You’ll select “OAuth client ID” for the type.
Select “Web application” for your application type, and complete the application fields.
Under “Authorized Javascript Origins”, enter your site URL.
The “Authorized Redirect URI” is listed under Social Login > Google. It will look something like this:
https://yourstorename.orderpal.net/?wc-api=auth&done=google
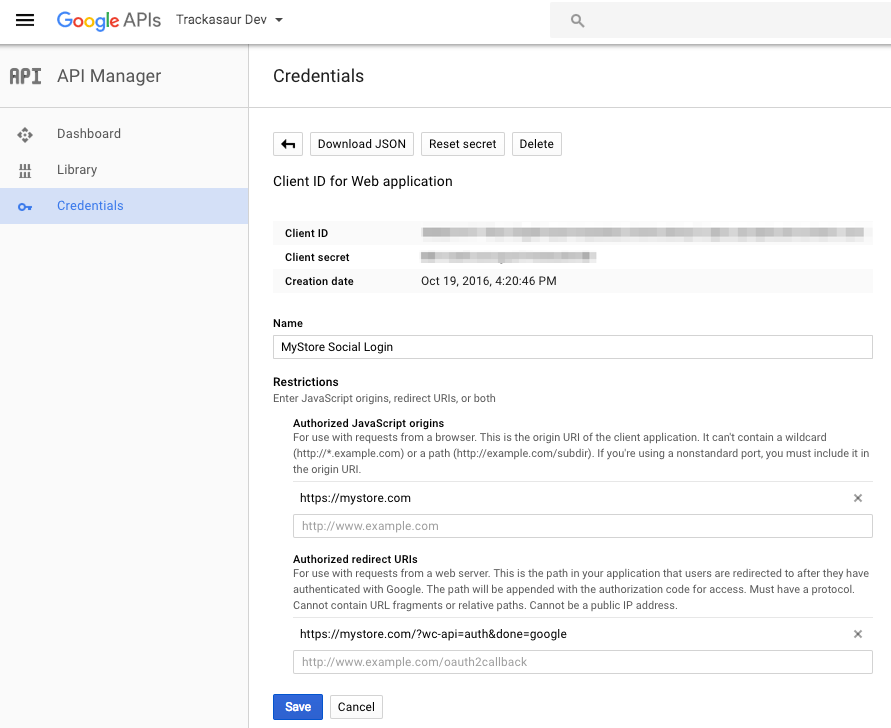
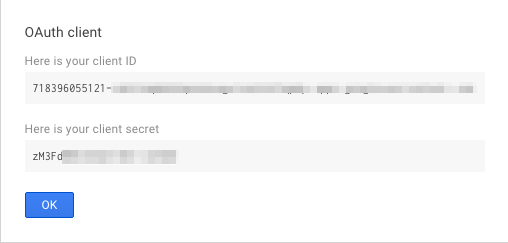
Click “Create” to save this setup and generate your credentials. You can copy these credentials and save them under Social Login > Google.
Connecting Amazon
To connect your store to Login with Amazon, you’ll need to log into your own Amazon account. If you don’t already have a developer account set up, you’ll need to register for a Developer account using your existing Amazon account or a new one.
If you’re creating a new Amazon account, go through the registration process and select that you won’t be monetizing your app. When Amazon asks you for tax information, you can click “Ask Me Later”, as you won’t be listing this as an Amazon app and only using Login functionality.
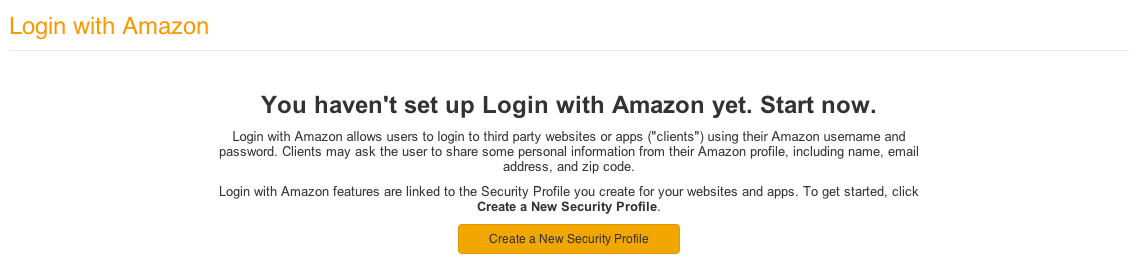
Once you’re logged into or registered for your developer account, follow these steps to create a security profile for your app.
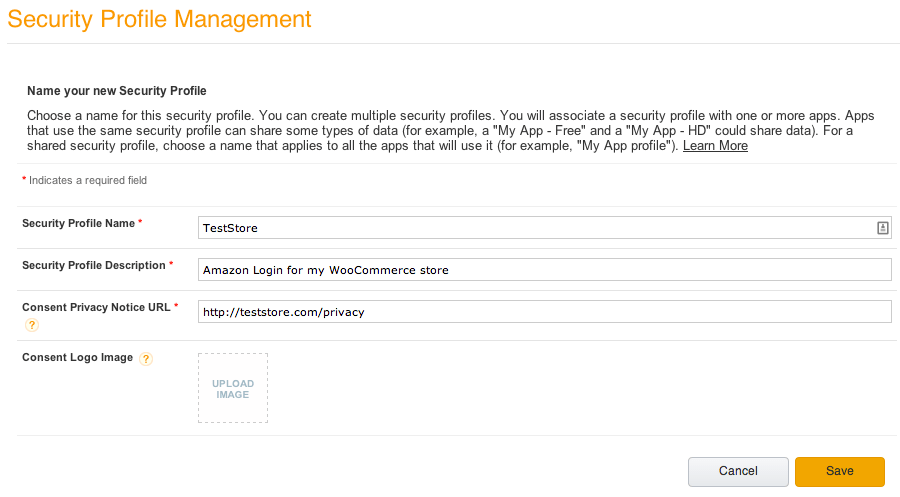
- Go to Login With Amazon (click this link, or go to “Apps & Services”, then “Login with Amazon”). Click “Create a New Security Profile”:

- Enter your store’s information and privacy policy URL:

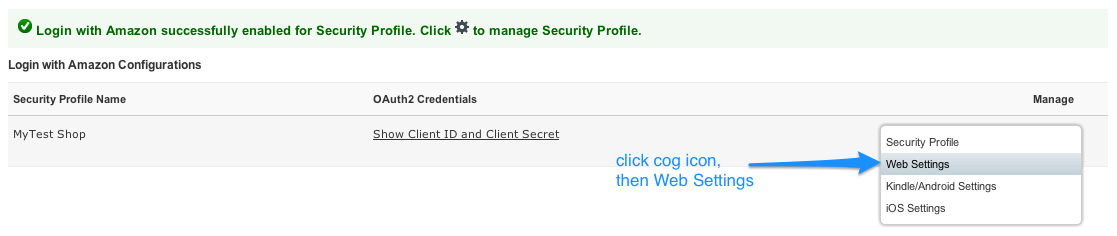
Once your profile has been created, go to Settings > Web Settings in the bottom right (the cog icon):
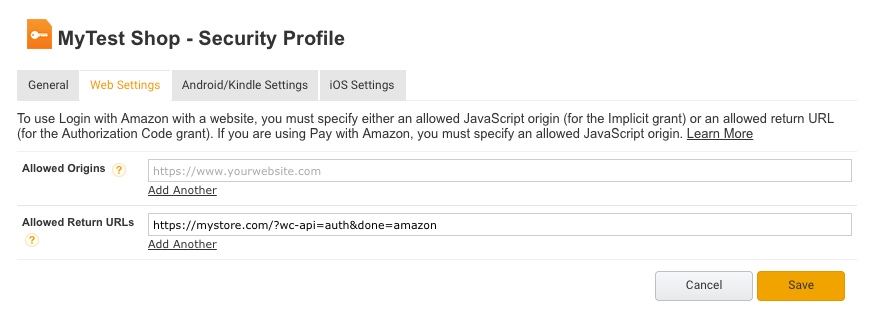
From here, click “Edit” to set the Allowed Return URL. The Allowed Return URL is listed under Social Login > Amazon. It will probably look something like this:
https://yourstorename.orderpal.net/?wc-api=auth&done=amazon
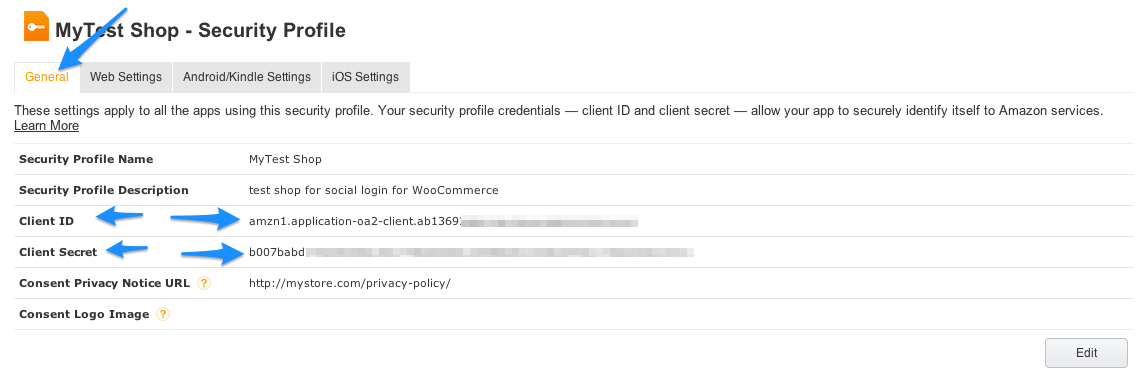
Click “Save”, and go to the “General Tab”. This page will have your Client ID and Secret credentials so you can enter them at Social Login > Amazon.
Connecting LinkedIn
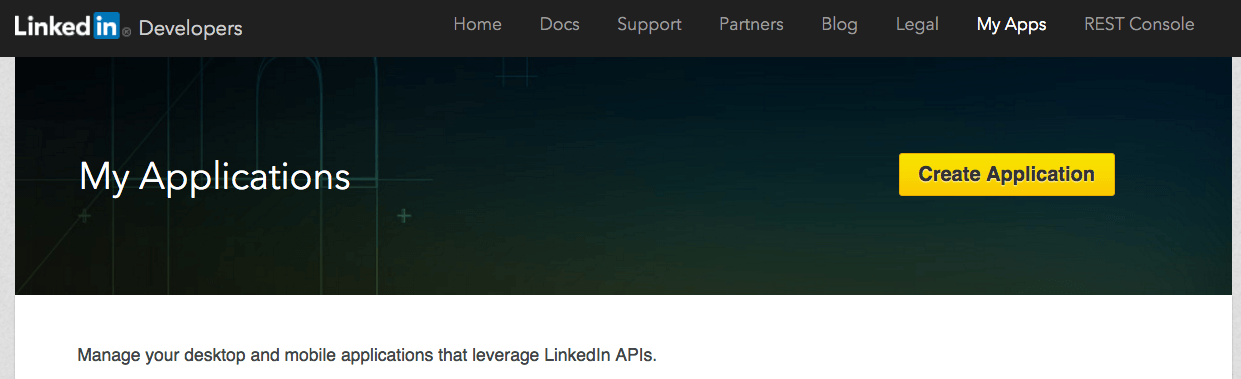
To connect your WooCommerce store to LinkedIn, visit the LinkedIn Developer Portal and log in with your LinkedIn credentials. You’ll be taken to the developer center where you can click “Create Application”.
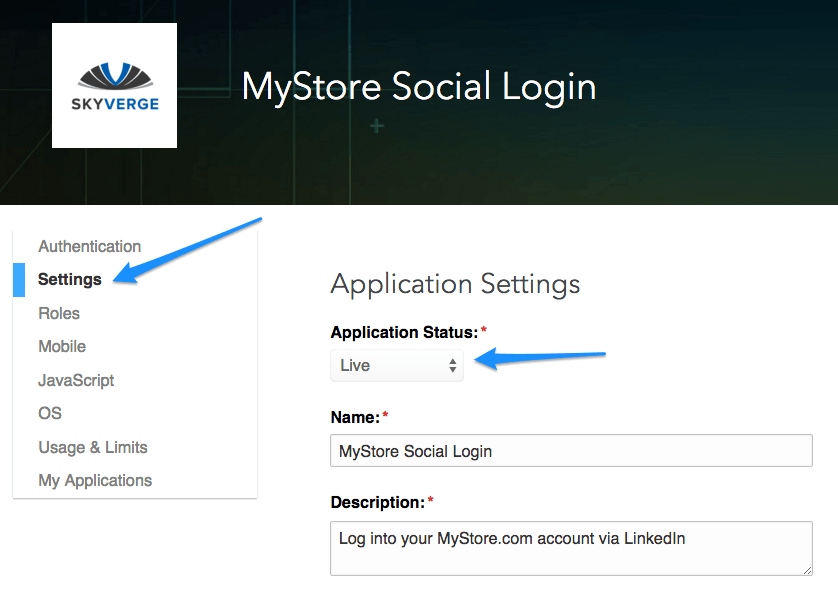
Fill out the application form with your store’s information. For Application Use, select “Other”.

You’ll now see your application’s page and settings. Set your app to “Live” status under the app’s “Settings” page and click “Update”.
Now go to the “Authentication” page you were first at. Under Default Application Permissions, choose r_emailaddress and r_basicprofile.
You’ll next set the OAuth 2.0 Authorized Redirect URLs. The OAuth 2.0 Redirect URL is listed under Social Login > LinkedIn. It will probably look something like this:
http://yourstorename.orderpal.net/?wc-api=auth&done=linkedin
you can leave the other OAuth and Javascript URLs blank, as they’re all optional settings.
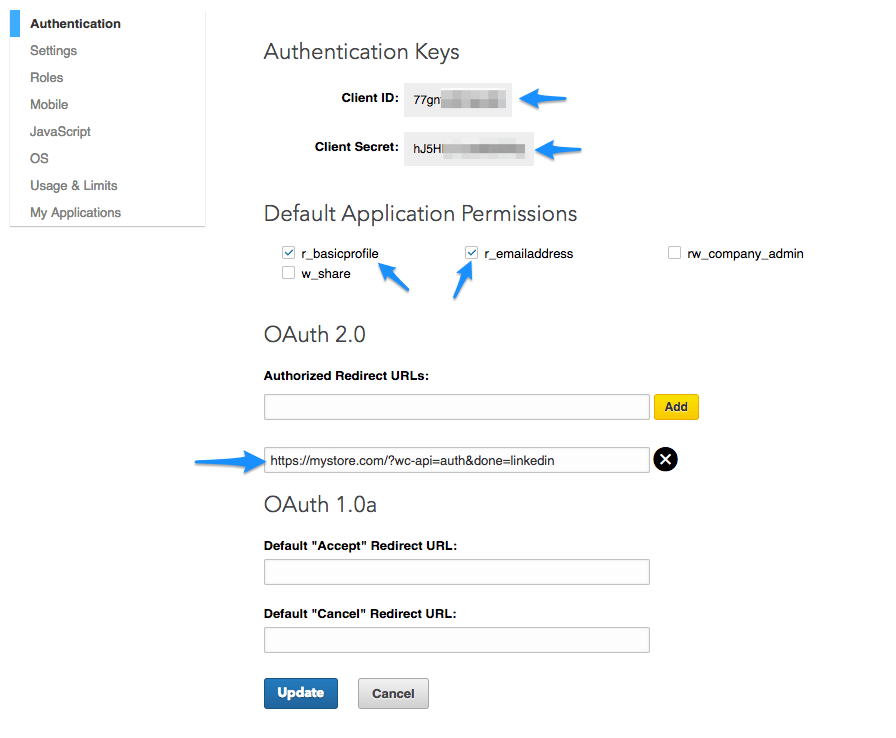
Save these changes, and copy the API credentials at the top of the “Authentication” page to connect your store. Copy the Client ID and Client Secret.
You can now enter them at Social Login > LinkedIn and save your settings.