How To Create Your Store in OrderPal Order Receiving App
Introduction:
We know you are excited to kickoff the OrderPal Order Receiving App signup process. Click here to signup from website or download our order receiving app from google play store to start the signup process .
However, it is important that you must have the API information available if you want to enable PayPal or Credit Card payment options for your Business. Because you will be asked to provide those information during your signup process. If you do not how to do so. Please read the below documents before you start. Don’t worry you can always go back to your store settings and setup if you don’t have this information available during the Signup process
How To Create Credit Card (Stripe) Payment Option for Your Business
How To Create PayPal Option for Your Business
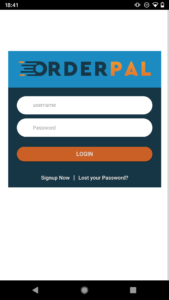
Step 1 – Launch OrderPal Order Receiving App and Signup
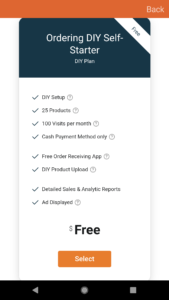
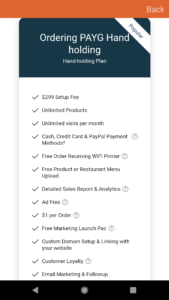
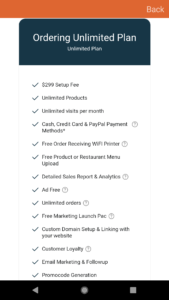
Step 2 – Click “Signup Now” and select one of the following plan whichever you see the fit.
You can always upgrade to a more advanced plan when you business grows. (If you plan to allow Credit Card and PayPal payment for your store, please get your API credentials ready before signup since you will have to provide them at the payment setup section. Please refer to “How to Create PayPal Option for Your Business” if you don’t know how to retrieve your API credentials)
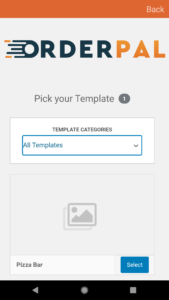
Step 3 – Choose the template appropriate to your business and “Select”
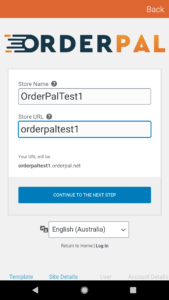
Step 4 – Create your store and domain name.
For your store domain name, only the lower case are allowed. Your store domain url will look like xxx.orderpal.net and can be linked with your business website.
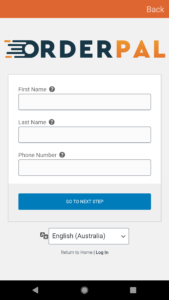
Step 5 – Provide your contact information
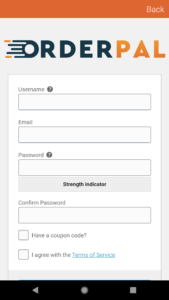
Step 6 – Create OrderPal App login credential for your online store.
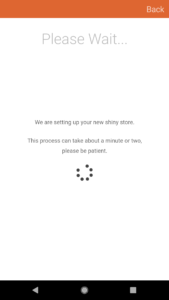
Your username can only be lowercase and numbers. Please make sure to enter your coupon code If you have received promotion coupon from OrderPal. You must also agree with the “Term of Services” in order to “CREATE ACCOUNT” with OrderPal. Please be patient when we are create your store. DO NOT press return or “BACK”
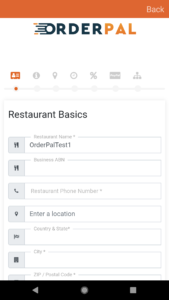
Step 7 – Provide store contact details,
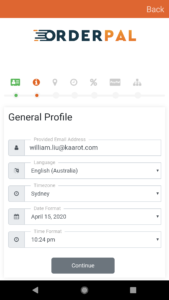
Step 8 – Confirm time and date format,
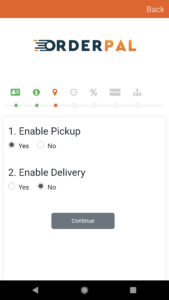
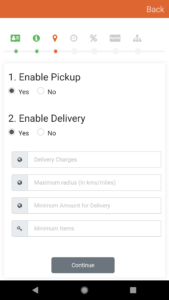
Step 9 – Enable shipment methods.
If you want to enable delivery. You will have to enable delivery then provide more details about the delivery. You can specify your delivery charge delivery area (in kms radius), minimum ordering amount and items
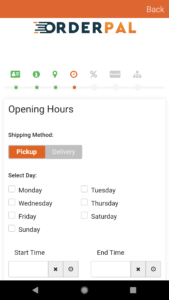
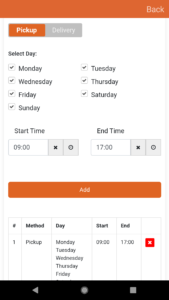
Step 10 – Configure your trading hours.
If you have enabled delivery, you need also configure trading hours for delivery. Please see a sample trading hour for pickup below
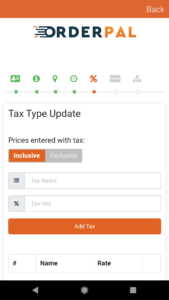
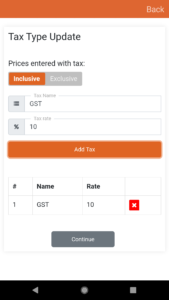
Step 11 – Specify tax
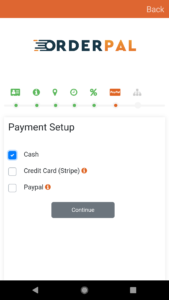
Step 12 – Payment setup.
Based on your plan, the payment option for your business will differ. However, cash is also available. As to the credit card or PayPal payment methods. Please refer to “How to Create PayPal Option for Your Business” if you don’t know how to retrieve your API credentials.
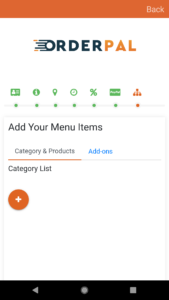
Step 13 – Add Store Items/Categories.
Please see How To Add Product to Your Business Online Store in OrderPal Order Receiving App for details.
Step14 – Congratulations, your store is up running now.


