How To Add Product to Your Business Online Store in OrderPal Order Receiving App
You can only do this during your store signup by using OrderPal Order Receiving App. At your signup after step 12 which you have setup payment methods for your business, then step 13 is for you to upload your products. This is providing a instruction on how to upload your product one by one.
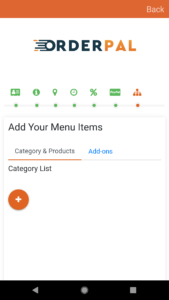
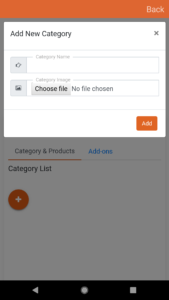
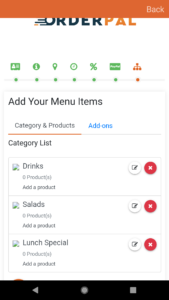
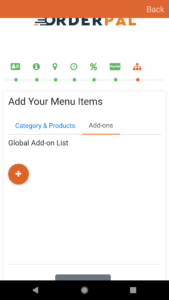
Step 13.1 – Product/Category Upload. At this page, you will have to create categories first. By tab “+”, you will be able to create your product categories. Please see a sample below which has 3 categories: Drinks, Salads, and Lunch Special.
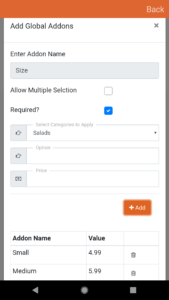
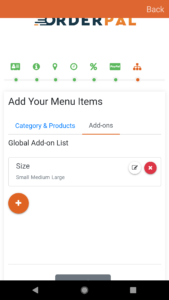
Step 13.2 – The “Add-on” tab allows you add options for the whole category. For instance, you can see a size option for category salads below. If you want to allow multiple options, you can tick “Allow Multiple Selections”
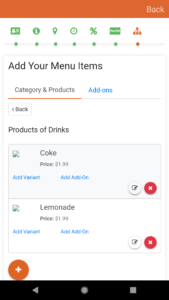
Step13.3 – After you have created all product categories and now you can enter your product one by one under each category. For instance, you can tab “Add Product” under Drinks to add product Coke and Lemonade. You can also use the “Add Variables” or “Add on” if needed. The main difference between “Add on ” and “Variables” are “add on” allows multiple selection while “variable” only allows one selection.